Table of contents
Starting the workflow
# Load the library.
# The 'quietly' argument turns off the messages about loading other dependencies.
library(bidsconvertr, quietly = TRUE)

# Start the workflow.
convert_to_BIDS()
The ‘user settings.R’ file - selection or creation
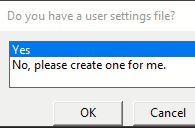
A ‘user settings.R’ file is required when using the ‘convert to BIDS()’ function. You are able to create a new file or select an already created one from a further conversion process.
The ‘user settings.R’ file stores the settings and variables you’ve chosen (folders, filename convention, dcm2niix string, regular expressions). It is saved to the output directory and can be used again for future conversion processes. A user dialogue will walk you through the creation and selection process.
 |
|---|
Screenshot of the dialog box: Do you have a user settings file? |
| Option | What happens? |
|---|---|
| Yes | You are able to select your already existing file. It is located inside of a output directory. The user dialog is skipped. |
| No | Starts a selection process and creates your user settings file in the output folder. |
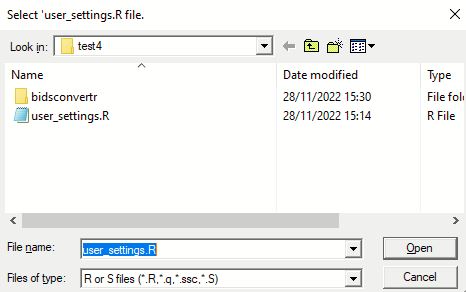
If you clicked “Yes”, you have to select an already existing “user_settings.R” file.
 |
|---|
| Screenshot of the dialog box: Select ‘user_settings.R’ file |
Creation of ‘user settings’ file.
You entered convert_to_BIDS() and selected in the popup window that you want to create the user_settings.R file. You have to know where your data is and should be saved to (select the according folders) and set some options based on your input data (session/subject or subject/session) folder order. The questions from each popup window are described below in their order.
You need RStudio for popup support (user-friendly solution). Otherwise the questions will be asked inside the terminal (for the advanced user).
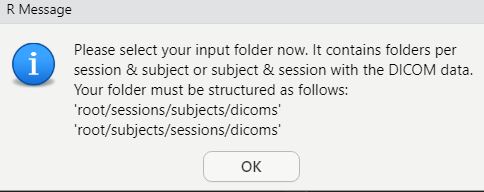
Choose input directories (DICOM)
 |
|---|
| Screenshot of the message box: Select the input folder, which contains all session/subject or subject/session folders. If you just have one session, keep your data in a folder named, say, ‘session-0’. |
 |
|---|
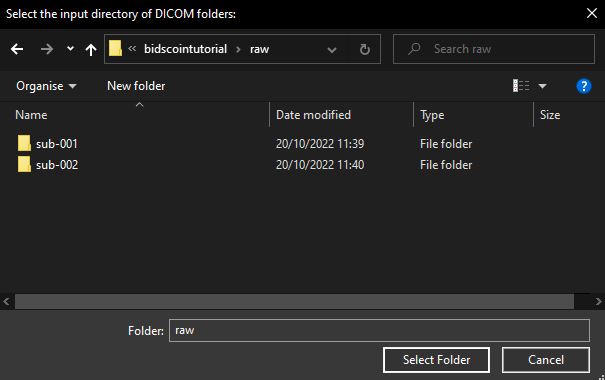
| *Screenshot of the file selection box: Select the input directory of DICOM folders, as described above |
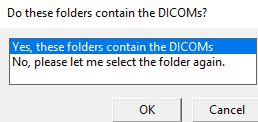
Do these folders contain the DICOM images?
Several folders are listed in the terminal. These should include the DICOMs.
 |
|---|
| Screenshot of the dialog box: Do these folders contain the DICOMs? |
| Option to select | What happens? |
|---|---|
| Yes | next step |
| No | You are able to select the folder again |
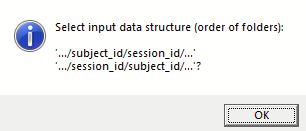
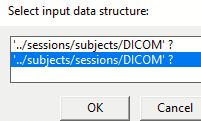
Select folder hierarchy (subject/session or session/subject)
 |
|---|
| Screenshot of the message box: Is your DICOM data structured as ‘session/subject’ or ‘subject/session’. |
Any subject- or session-ID is possible! Without “sub-” or “ses-” as well.
 |
|---|
| Screenshot of the dialog box: Select input data structure: |
Based on this selection, the tool extracts the subject- and session-ID’s. The folders are displayed on the console.
| Folder order of your files | Selection |
|---|---|
| sub-0001/ses-01 | subject/session |
| ses-01/sub-0001 | session/subject |
Choose the option that best fits your data, as displayed in the terminal.
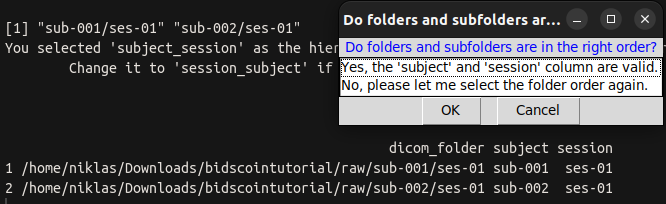 |
|---|
| Screenshot of the dialog box: Were subject-ID’s and session-ID’s extracted correctly? |
A table with the columns “subject” and “session” is displayed on the terminal. Do they appear to be valid?
| Option to select | What happens? |
|---|---|
| Yes | Next step is started. |
| No | Change the folder order again. |
Choose output directory (BIDS)
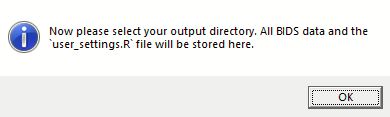 |
|---|
| Screenshot of the message box: Now please select your output directory. All BIDS data and the ‘user_settings.R’ file will be stored there. |
The output directory will contain:
- temporary files and metadata of the dcm2niix conversion,
- ‘user_settings.R’ file and
- BIDS output.
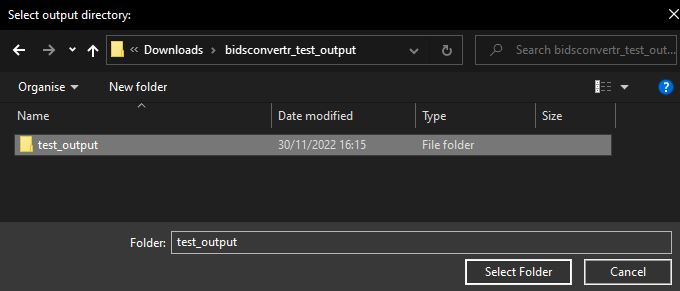 |
|---|
| *Screenshot of the folder selection window: Select output directory: * |
You can choose any folder on your hard drive. As a result, raw data can be stored somewhere other than where processed data is.
Advanced features
This part is optional. You should read this if your subject-IDs are messy (have a redundant prefix, suffix, or string, for example), or if you want to rename your session-IDs.
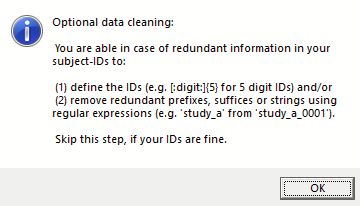 |
|---|
| Screenshot of the message box explaining the two options which can be used to clean your data. You can define a regular expression describing all your subject-IDs and/or you can create a regular expression that is removed from your actual subject-IDs (e.g. redundant prefixes, suffices or strings). |
This section covers the optional cleaning or extraction of subject-ID’s and renaming of sessions.
You are prompted to decide if you wish to edit subject- and session-ID’s during the user dialog. You can skip this step if your data was already collected with clear subject- and session-ID’s:
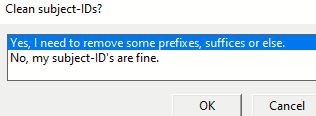 |
|---|
| Screenshot of the dialog box: Clean subject-IDs? |
| Option to select | What happens? |
|---|---|
| No, my subject-ID’s are fine. | The paths are created, subject- and session-ID’s get a “sub-“ and “ses-“ prefix, if it isn’t already there. |
| Yes | Set a subject-ID regular expression or set a string, prefix, suffix or regular expression, which is then removed from each subject-ID. |
Resources for regular expressions
For more information on regular expressions (regex) please see the stringR cheat sheet or RegexOne.
Each regex set here should match to your data. Contact me via email or the issues in this repository if you run across any troubles.
You should have enough freedom using these two routines to clean up your filenames and gradually change and improve your regular expression.
subject-ID cleaning
The input folder name serves as the subject-ID. In the absence of a regular expression, the subject-ID is unaltered.
Regular expression: subject-ID
 |
|---|
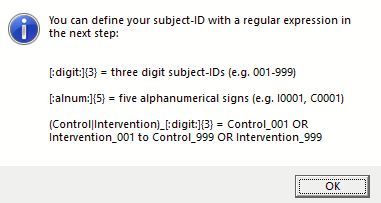
| Screenshot of the message box about the subject-ID definition with regular expressions and some examples. |
The subject-ID is extracted from the entered regular expression. If all of your files had a well established naming convention, you could use this.
Figure: Examples of subject-ID regular expressions
| subject-ID | regular expression | described in words | output subject-ID |
|---|---|---|---|
| 01234 | [:digit:]{5} | 5 digits | sub-01234 |
| Control2132 | (Control|Patient)[:digit:]{4} | “Control” OR “Patient” followed by 4 digits | sub-Control2132 |
| Patient0123_test | (Control|Patient)[:digit:]{4} | sub-Patient0213 | |
| abcd0123 | [:alpha:]{4}[:digit:]{4} | 4 letters and 4 digits | sub-abcd0123 |
| pilot_sdfjd3222 | [:alpha:]{4}[:digit:]{4} | sub-sdfjd3222 | |
| adc932d | [:alnum:]{5,7} | between 5 to 7 alphanumeric (letters, digits) | sub-adc932d |
| 23d49 | [:alnum:]{5,7} | sub-23d49 |
 |
|---|
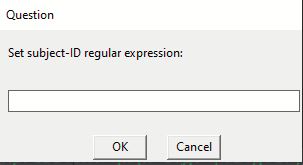
| Screenshot of the dialog box: Set subject-ID regular expression: |
Regular expression: pattern to remove
 |
|---|
| Screenshot of the message box about the regular expression pattern to remove from your subject-IDs. |
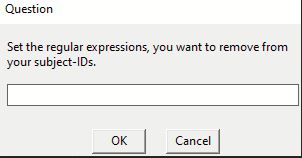
The pattern_to_remove regular expression simply removes the regular expression(s) from the subject-ID.
Table: Examples of ‘patterns to remove’ regular expressions
| subject-ID | regular expression | described in words | output subject-ID |
|---|---|---|---|
| 02313_bidirect | _(bidirect|BiDirect|Bidiect) | “_” followed by “bidirect”, “BiDirect” or “BiDiect” | sub-02313 |
| 03211_BiDirect | _(bidirect|BiDirect|Bidiect) | sub-03211 | |
| 02111_Bidiect | _(bidirect|BiDirect|Bidiect) | sub-02111 | |
| test0111 | test|study_a_ | “test” or “study_a_” | sub-0111 |
| study_a_1111 | test|study_a_ | sub-1111 | |
| pre9222post | pre|post|suffix|prefix | as in the cell above | sub-9222 |
| suffix223prefix | pre|post|suffix|prefix | sub-223 |
 |
|---|
| Screenshot of the dialog box: Set the regular expression(s), you want to remove from your subject-IDs: |
Are the subject-IDs correct?
 |
|---|
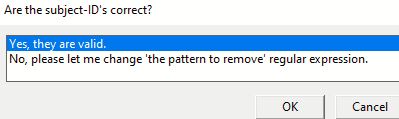
| Screenshot of the dialog box: Are the subject-ID’s correct? |
| Option to select | What happens? |
|---|---|
| Yes, they are valid. | The next step is started. |
| No, please let me change ‘the pattern to remove’ regular expression. | The ‘pattern_to_remove’ dialog box opens and you can set your regular expression again. |
session-ID cleaning
Please note that special symbols (e.g. “_” or “-“) are not allowed in BIDS session-IDs. Our tool removes these from your filenames and you are not allowed to process the workflow with invalid session-IDs.
 |
|---|
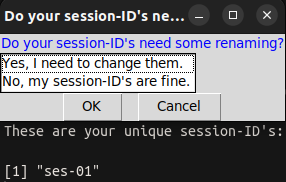
| Screenshot of the dialog box: Do your sessions-ID’s need some renaming? |
You can choose to keep or rename the session-IDs.
| Option to select | What happens? |
|---|---|
| Yes, I need to change them | Each session is opened separately and you can enter the new session-ID. |
| No, my session-ID’s are fine. | Nothing is edited, you keep your session-IDs |
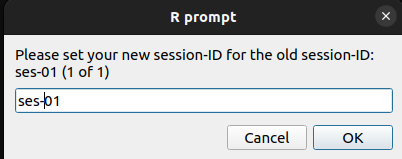
Yes, I need to change them:
“Yes, I need to change them” can result in output like this. Your session-IDs can now be edited. The user could also choose to use “followup” or something else.
 |
|---|
| Screenshot of the dialog box: Please set your new session-ID for the actual session-ID |
| session-ID (old) | session-ID (user input) | session-BIDS |
|---|---|---|
| baseline | 1 | ses-1 |
| follow_up | 2 | ses-2 |
No, my session-ID’s are fine:
| session-ID (old) | session-BIDS |
|---|---|
| baseline | ses-baseline |
| follow_up | ses-follow_up |
dcm2niix conversion
Your data is converted into NifTI format using dcm2niix based on the inputs. All potentially identifiable metadata was removed with dcm2niix from the NII + JSON files.
Each JSON header is read out and combined into one file for further inspection.
dcm2niix customisation
installation of other versions
The “convert_to_BIDS()” function automatically uses the tested “v1.0.20230411” of dcm2niix. Other versions can be installed by changing the version number and running the script before running “convert_to_BIDS()” the first time.
Otherwise, go to your output folder, delete the dcm2niix files in it, and run the “install_dcm2niix()” version with your version number or download and unpack the files to that location manually.
https://github.com/rordenlab/dcm2niix/releases
install_dcm2niix("v1.0.20181125") # if you want to install the specific version v1.0.20181125
using other arguments
You can edit the dcm2niix_argument_string in the “user_settings.R” file according to your needs.
Just read here or inspect the possible arguments from this image:
 |
|---|
| Screenshot of the terminal arguments of dcm2niix. |
dcm2niix_argument_string <- -ba y -f %d -z y -w 0 -i y
| Argument | Setting | Behaviour |
|---|---|---|
| -ba | y (yes) | bids anonymisation of JSON sidecar |
| -f | %d | string for the filename (do not change this one) |
| -z | y (yes) | compress the output (nii.gz instead of nii) |
| -w | 0 | in case of duplicate filename -> skip |
| -i | y (yes) | ignore derived, localizer and 2d images |
Used arguments for conversion
Please edit these, if the conversion went wrong.
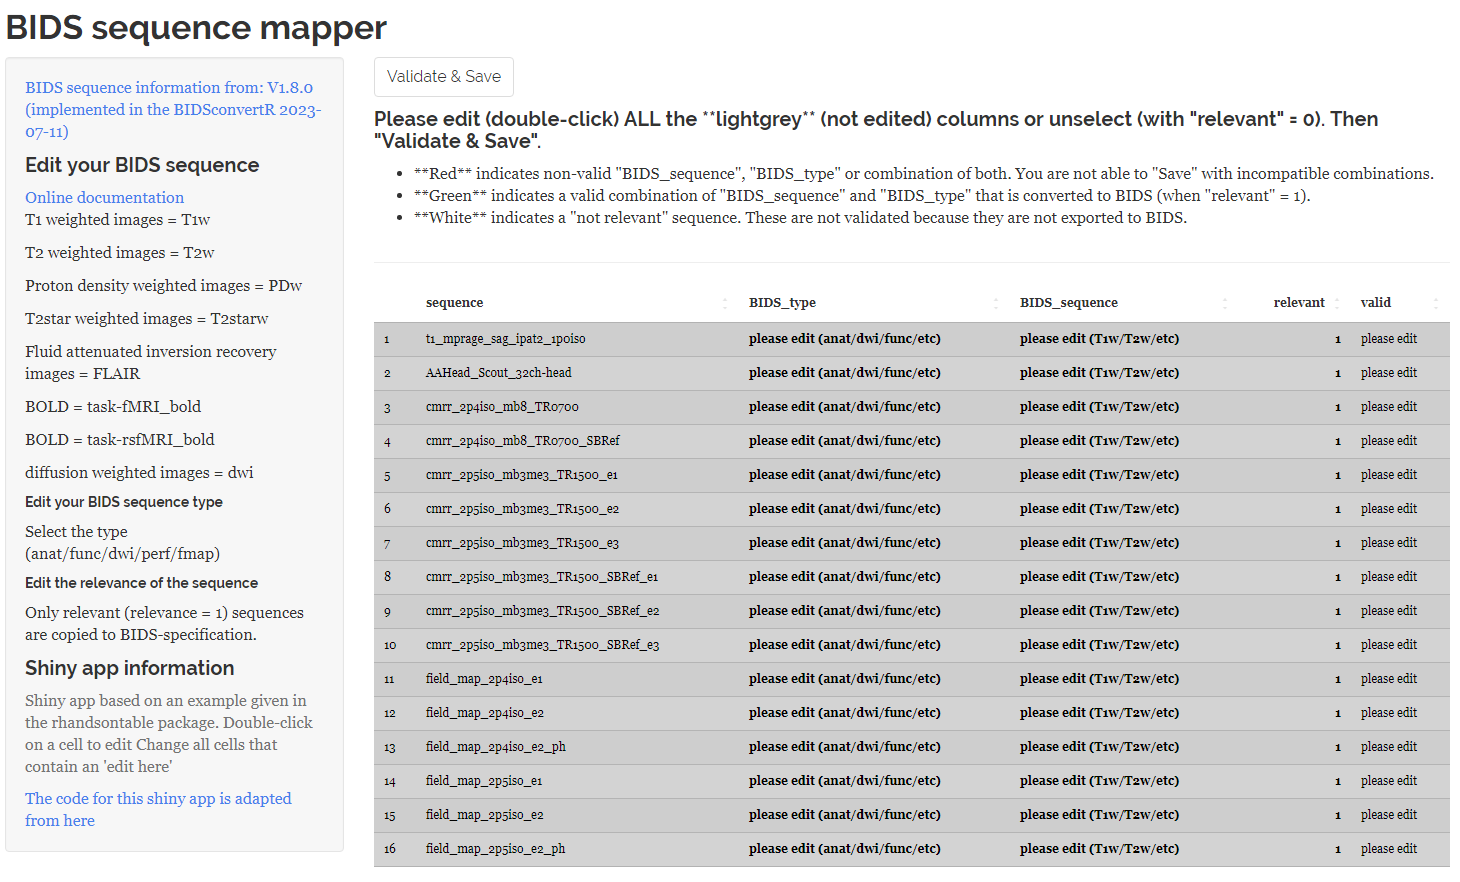
GUI: The sequence mapper
After extracting the distinct sequence-IDs, the Sequence Mapper, a Shiny application is started. You should be able to rename your sequences in accordance with the BIDS specification. A double-click on a cell will open it for editing. The Sequence Mapper displays the interface as follows:
 |
|---|
| Screenshot of the Sequence mapper when it starts up. All sequences are marked grey and the “valid” volumn shows, that each session name has to be edited |
You have to edit each entry according to the BIDS specification or unselect them for further processing by setting ‘relevant’ to ‘0’. Otherwise you are not able to save and continue with the workflow. Some tips can be found on the left panel and hyperlinks to the BIDS specification.
Video demonstration
The video takes a few seconds to load.
Sequence mapper workflow:
1) You must edit every cell with the phrase “please edit.” A minimum is to set the “relevant” column of each row to “0” to unselect it for BIDS conversion.
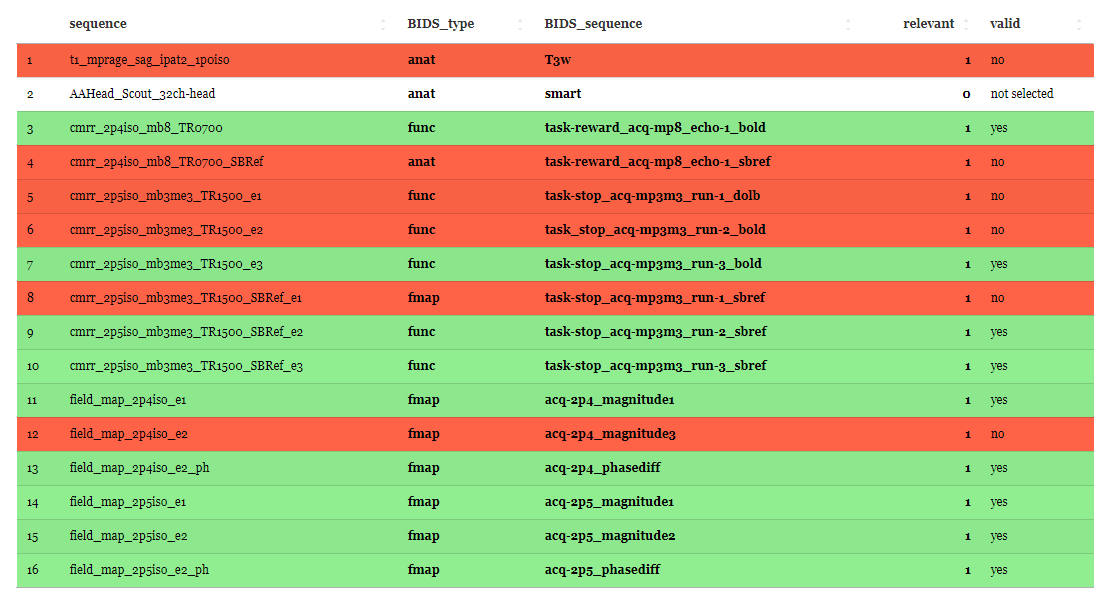
2) Using regular expressions based on BIDS, each ‘BIDS_sequence’, ‘BIDS_type’ and the combination of both is validated. A green coloured row shows a valid BIDS dataset. A red coloured row indicates that something is amiss in ‘BIDS_sequence’, ‘BIDS_type’ or the combination of both. Note that you are restricted in how you name files. If you mark a non-valid BIDS string as relevant you are not able to save and start the BIDS conversion until you set plausible combinations of BIDS type and BIDS sequence IDs. Please see the BIDS documentation v1.8.0 for information on how to name your files. A white coloured row indicates that the sequence is not selected for further processings (relevant = ‘0’). A grey coloured row indicates that the user has to edit the cells.
 |
|---|
| Screenshot of the Sequence mapper demonstrating the the color-coding validation. Can you find out, why some rows are still red? Investigate each letter of the filename and type. |
3) After clicking “Validate & Save”, your entries are validated again. If you have only one invalid combination of BIDS type & sequence you are not able to continue the workflow! Please close the window to continue the workflow.
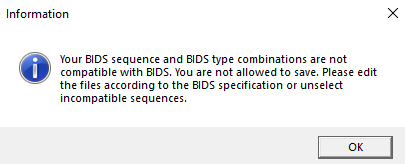 |
|---|
| Screenshot of the message box that informs you about invalid BIDS sequence, type or combinations of both. |
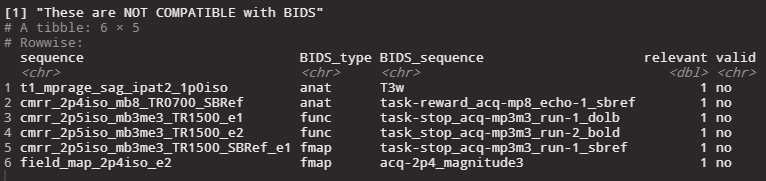 |
|---|
| Screenshot of the log message that shows you the invalid rows of the sequence map in the console. |
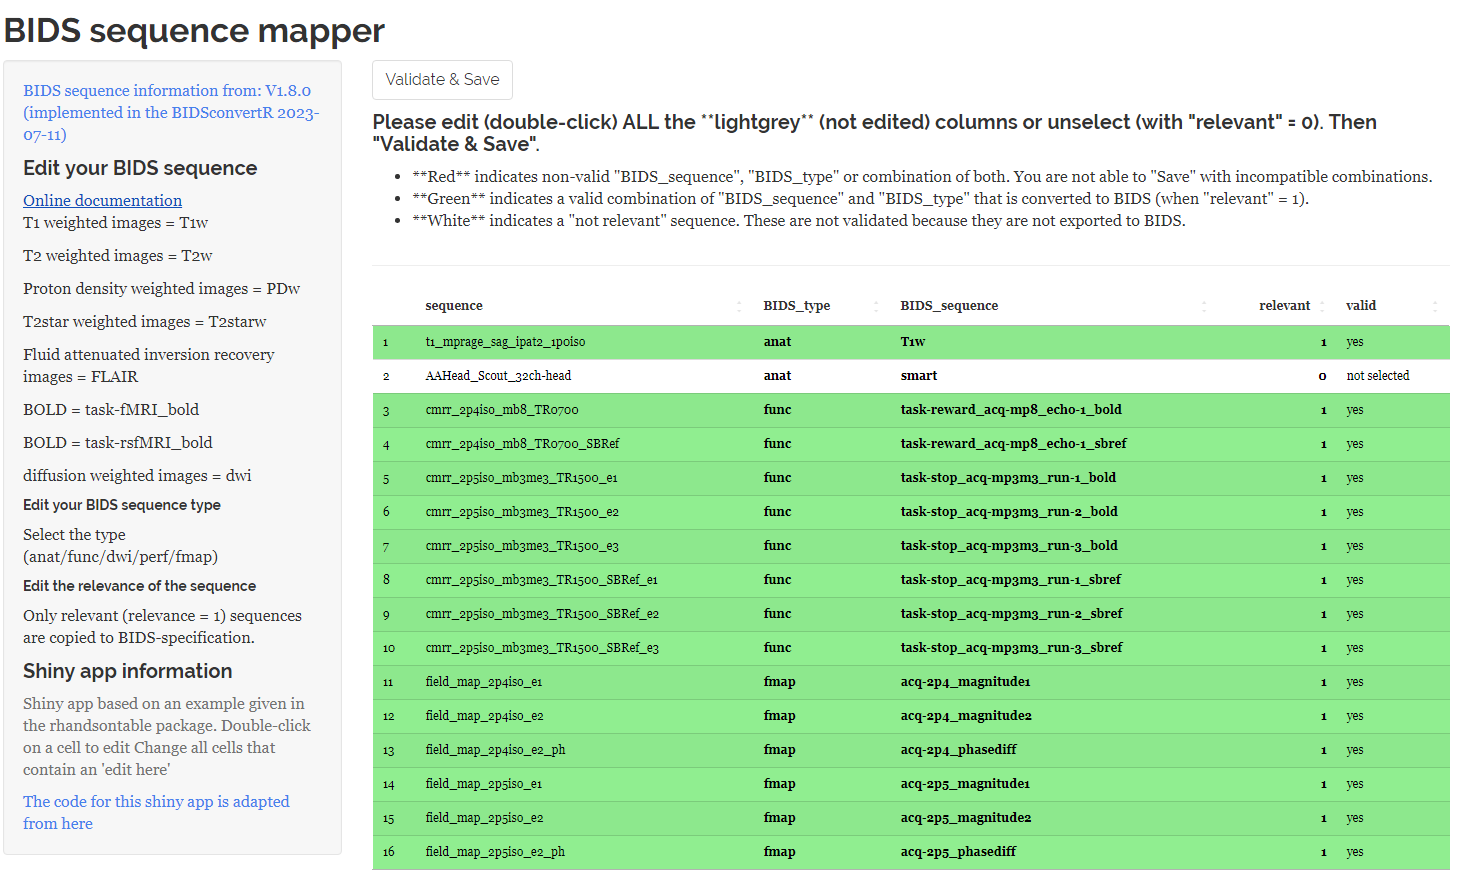 |
|---|
| Screenshot of the Sequence mapper with valid sequence names indicated in green and ignored sequences indicated in white |
Saving data to BIDS
Now the data marked as relevant is converted to BIDS.
Only the metadata contained within the BIDS folder is free of potentially identifiable information. Follow the legal terms when sharing your dataset and consider additional defacing, pseudonymization, or both.
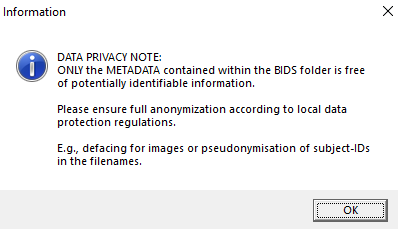 |
|---|
| Screenshot of the information message indicating further steps for data privacy. |
BIDS validation
The BIDSconvertR uses the BIDS-validator.
When everything is in order:
-
The files are copied to BIDS.
-
The BIDS validation process begins. If Docker is already installed on your machine, it downloads the newest version of BIDS-Validator and it is started automatically on your folder. If not, the online-version is launched, and you must choose your folder manually. Please note: Files are never uploaded to the BIDS-Validator.
-
If the Docker version was started a ‘bidsvalidator.txt’ file is created in your output folder for further inspection.
 |
|---|
| Screenshot of the content of the bidsvalidator.txt file. |
Removal of temporary files
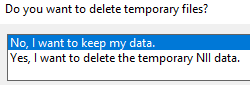
You are prompted, if you want to remove temporary images from your hard disk. Avoid performing this by hand! Only do this after validating your data and gathering all of your data.
 |
|---|
| Screenshot of the dialog box to delete temporary files. |
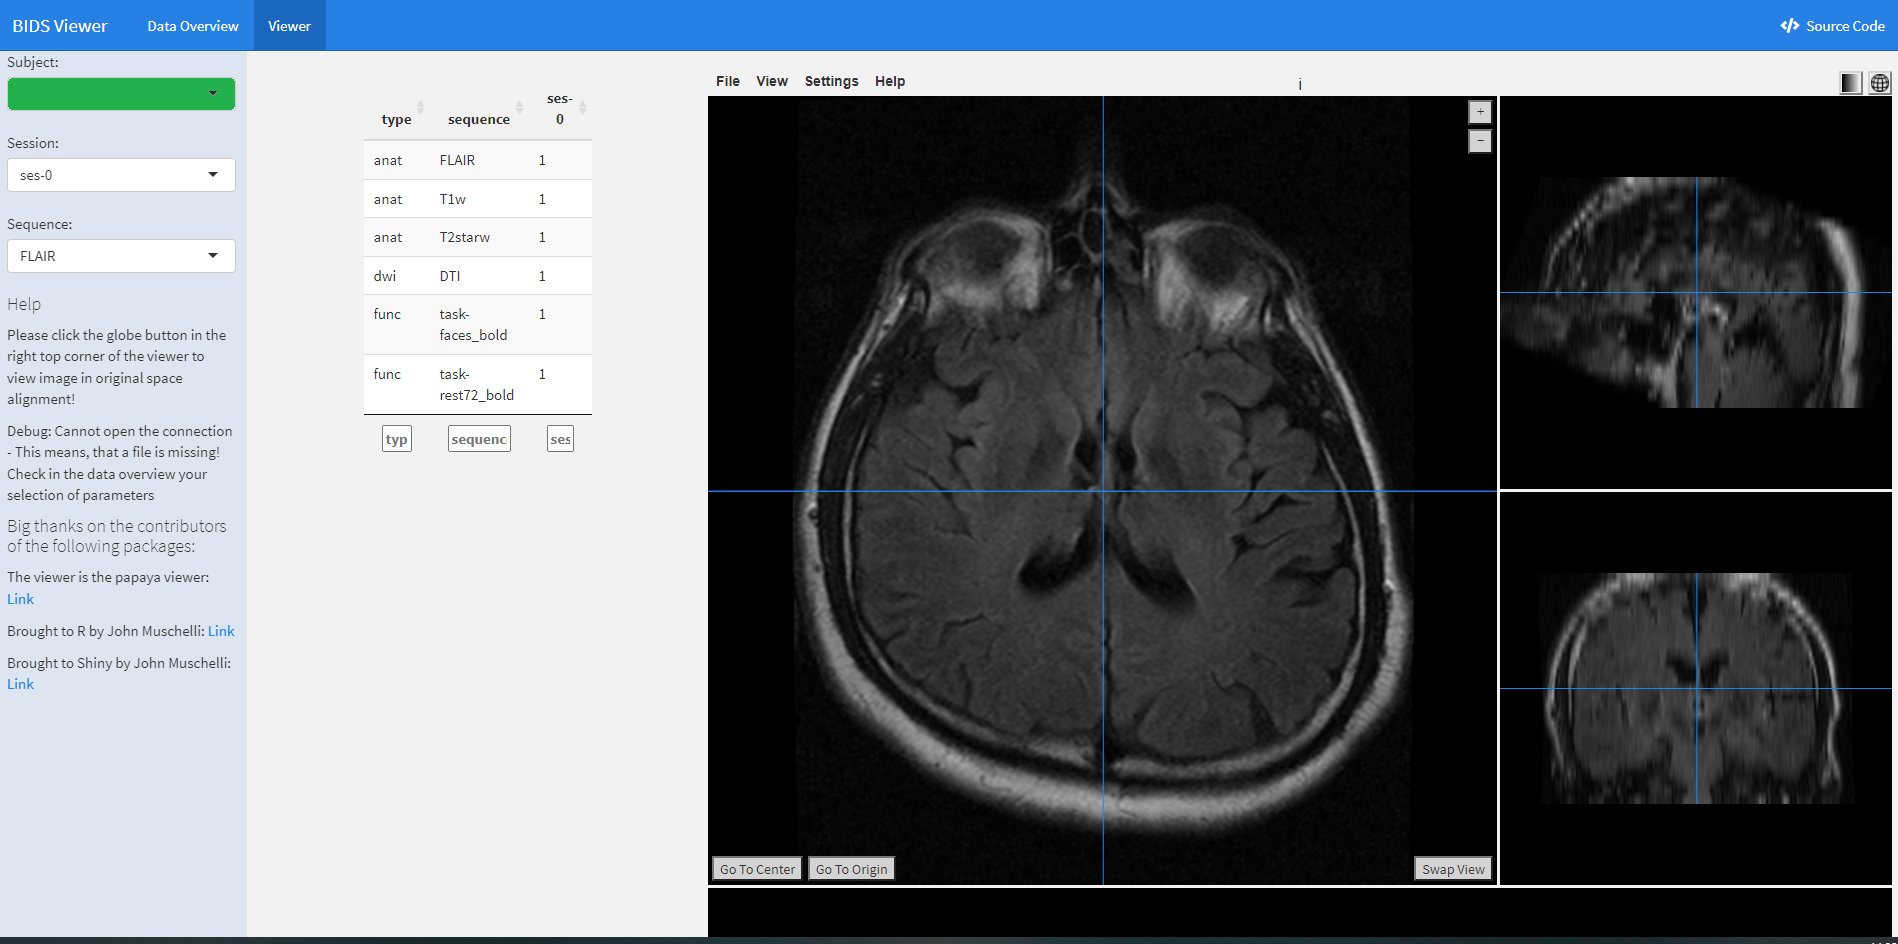
GUI: BIDS viewer
A Shiny viewer is launched to examine the images visually.
 |
|---|
| Screenshot of the BIDS viewer using the papayaWidget package by John Muschellij |