The installation procedure
Installing R and RStudio and downloading sample data:
- To install the BIDSconvertR on Windows or Linux follow the instructions.
- Download the BIDScoin example data : Download here. Please be aware that the data has been compressed twice using gunzip (suffix: ‘.gz’) and tar (suffix: ‘.tar’). You need to unpack both. Some programs do this in one step, others need to extract it twice. The data is fine, when you can easily click down the folder structure.
Table of contents
- The installation procedure
- The BIDSconvertR workflow
- Creation of ‘user_settings.R’ file.
- Step 1: Choose the input folder that contains the DICOM’s (here ‘bidscointutorial\raw’).
- Step 2: Select the
../subject/session/..order of folders. - Step 3: Create and choose the output folder. All BIDSconvertR files (including the ‘user_settings.R’ file) are saved here.
- Step 4: Do not use the “subject-ID” or “pattern to remove” features. You have compliant subject-IDs!
- GUI: sequence mapper
- Default values for tutorial data
- Creation of ‘user_settings.R’ file.
The BIDSconvertR workflow
This procedure should demonstrate how to use the BIDSconvertR. We appreciate the BIDScoin team’s permission to use their sample data. This tutorial only covers the basic steps. You can find a detailed description including visualizations in the “usage notes” section.
This workflow covers each stage of the BIDSconvertR workflow:
- Launch RStudio and use the R console from here on.
- Execute
library("bidsconvertr", quietly = TRUE). - Use the
convert_to_BIDS()command to launch the tool.
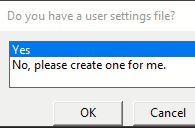
Creation of ‘user_settings.R’ file.
Create your own ‘user_settings.R’ file by following the popup messages.
 |
|---|
| *Screenshot of the dialog, that lets you select your user_settings file. Does only makes sense if you already created one! |
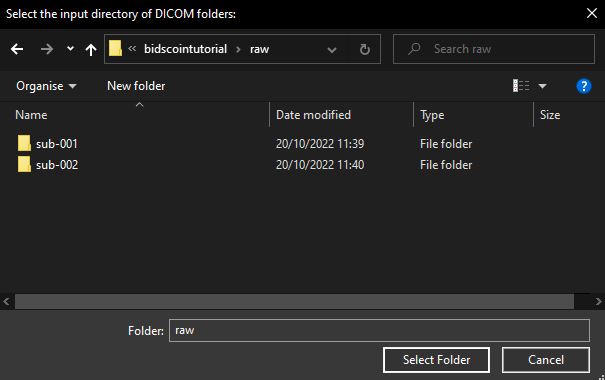
Step 1: Choose the input folder that contains the DICOM’s (here ‘bidscointutorial\raw’).
 |
|---|
| Screenshot of the folder selection window,where you select the root folder, that contains all folders with dicoms. ‘../bidscointutorial/raw’ |
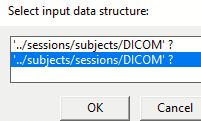
Step 2: Select the ../subject/session/.. order of folders.
 |
|---|
| Screenshot of the input data structure selection window. The BIDScoin data is structured into ‘subject/session’ folders |
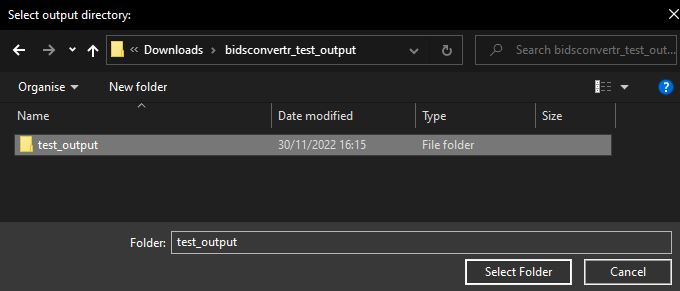
Step 3: Create and choose the output folder. All BIDSconvertR files (including the ‘user_settings.R’ file) are saved here.
 |
|---|
| Screenshot of the folder selection window for the output folder. |
Step 4: Do not use the “subject-ID” or “pattern to remove” features. You have compliant subject-IDs!
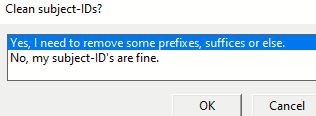 |
|---|
| Screenshot of the dialog box asking for the additional feature of subject-IDs editing with regular expressions. |
GUI: sequence mapper
- Use the sequence mapper to rename your files in accordance with BIDS, click “save” and close the window. The workflow should automatically launch the next steps.
- A full documentation of the sequencemapper can be found here
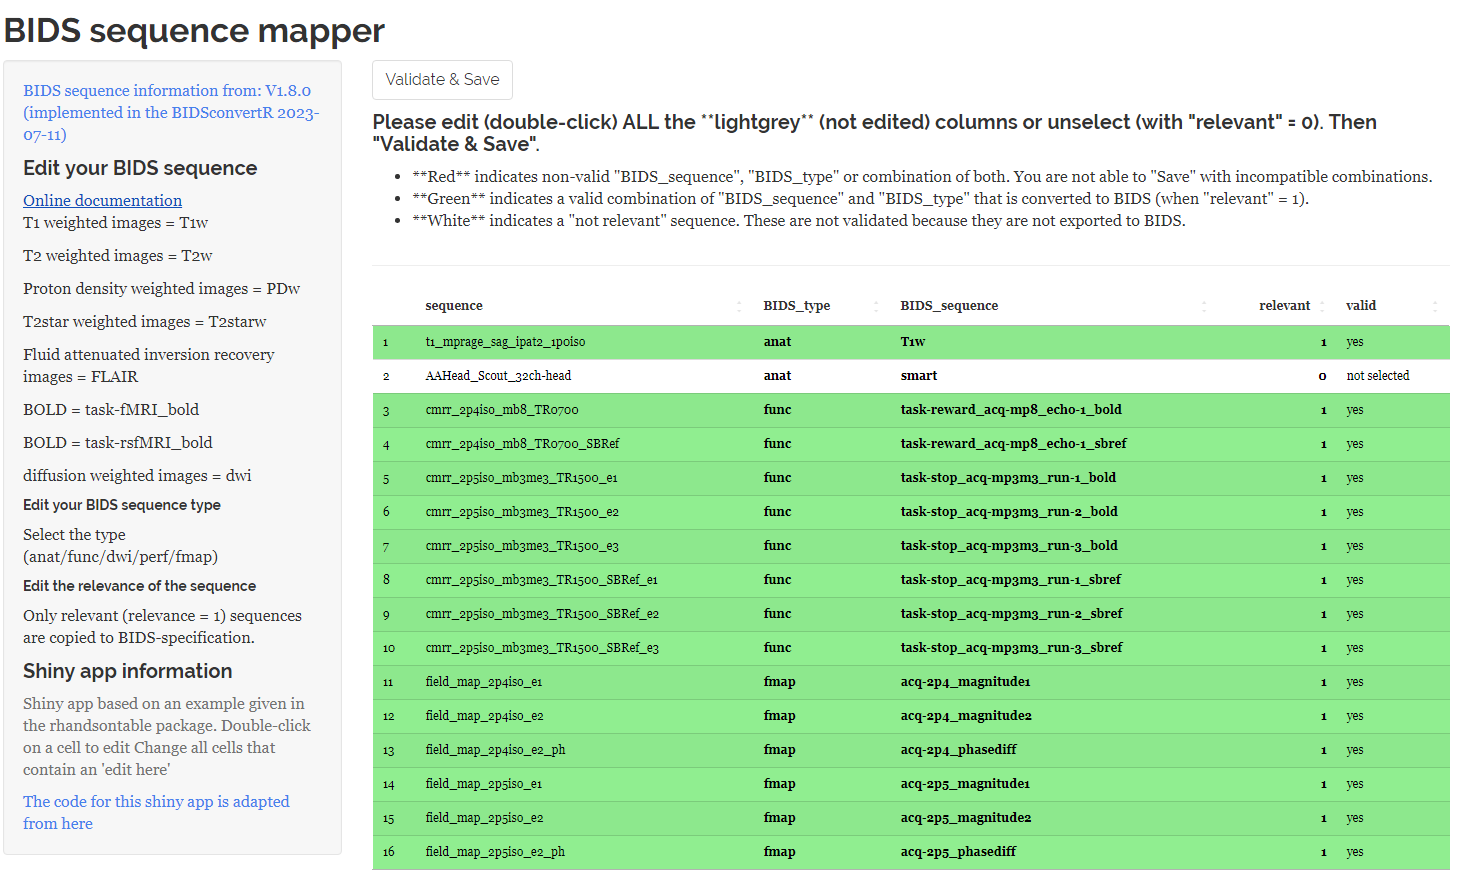 |
|---|
| Screenshot of the sequence mapper when entering the BIDS-compatible sequence-IDs. |
Video demonstration
The video takes a few seconds to load.
Default values for tutorial data
Here you find the entries as text for copy & pasting. Alternatively, download the sequence_map.tsv from this link, right-click, save, and replace the file in your BIDS output folder.
| sequence | BIDS_type | BIDS_sequence | relevant |
|---|---|---|---|
| t1_mprage_sag_ipat2_1p0iso | anat | T1w | 1 |
| AAHead_Scout_32ch-head | anat | smart | 0 |
| cmrr_2p4iso_mb8_TR0700 | func | task-reward_acq-mp8_echo-1_bold | 1 |
| cmrr_2p4iso_mb8_TR0700_SBRef | func | task-reward_acq-mp8_echo-1_sbref | 1 |
| cmrr_2p5iso_mb3me3_TR1500_e1 | func | task-stop_acq-mp3m3_run-1_bold | 1 |
| cmrr_2p5iso_mb3me3_TR1500_e2 | func | task-stop_acq-mp3m3_run-2_bold | 1 |
| cmrr_2p5iso_mb3me3_TR1500_e3 | func | task-stop_acq-mp3m3_run-3_bold | 1 |
| cmrr_2p5iso_mb3me3_TR1500_SBRef_e1 | func | task-stop_acq-mp3m3_run-1_sbref | 1 |
| cmrr_2p5iso_mb3me3_TR1500_SBRef_e2 | func | task-stop_acq-mp3m3_run-2_sbref | 1 |
| cmrr_2p5iso_mb3me3_TR1500_SBRef_e3 | func | task-stop_acq-mp3m3_run-3_sbref | 1 |
| field_map_2p4iso_e1 | fmap | acq-2p4_magnitude1 | 1 |
| field_map_2p4iso_e2 | fmap | acq-2p4_magnitude2 | 1 |
| field_map_2p4iso_e2_ph | fmap | acq-2p4_phasediff | 1 |
| field_map_2p5iso_e1 | fmap | acq-2p5_magnitude1 | 1 |
| field_map_2p5iso_e2 | fmap | acq-2p5_magnitude2 | 1 |
| field_map_2p5iso_e2_ph | fmap | acq-2p5_phasediff | 1 |
Now the data is automatically saved into BIDS, the BIDS validator is started, and the Shiny BIDS viewer starts.